- Home
- How to Repot Houseplants - To Repot or Not?
Repotting to some may seem like an excessive chore, but knowing when to repot a plant can help it thrive and is a crucial part of plant keeping! This guide intends to briefly demonstrate that repotting is nothing to be afraid of, and to help you to understand when to repot a plant.
When should I repot my plants?
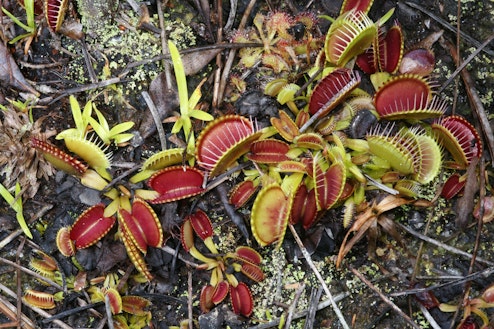
There are a few conditions that, when met, indicate your plant needs repotting. Some are met just in the process of gradual growth, while others are issues that can be solved by repotting. It's important to note that repotting super regularly can do more harm than good, and changing a plant’s environment frequently can shock it, which leads to stress. Certain plants grow less roots, or grow much slower and some grow aerial roots that help it to access moisture in the air and resultantly need repotting significantly less (e.g. Some Araceae plants, Epiphytic Orchids, some Hoya).
Over watering: Often, an overwatered plant needs urgent attention. Sometimes allowing the soil to dry in mild cases can be enough, but in cases where the soil is soaking wet and doesn’t seem to be drying out, changing the soil is a solution that can instantly solve the problem.
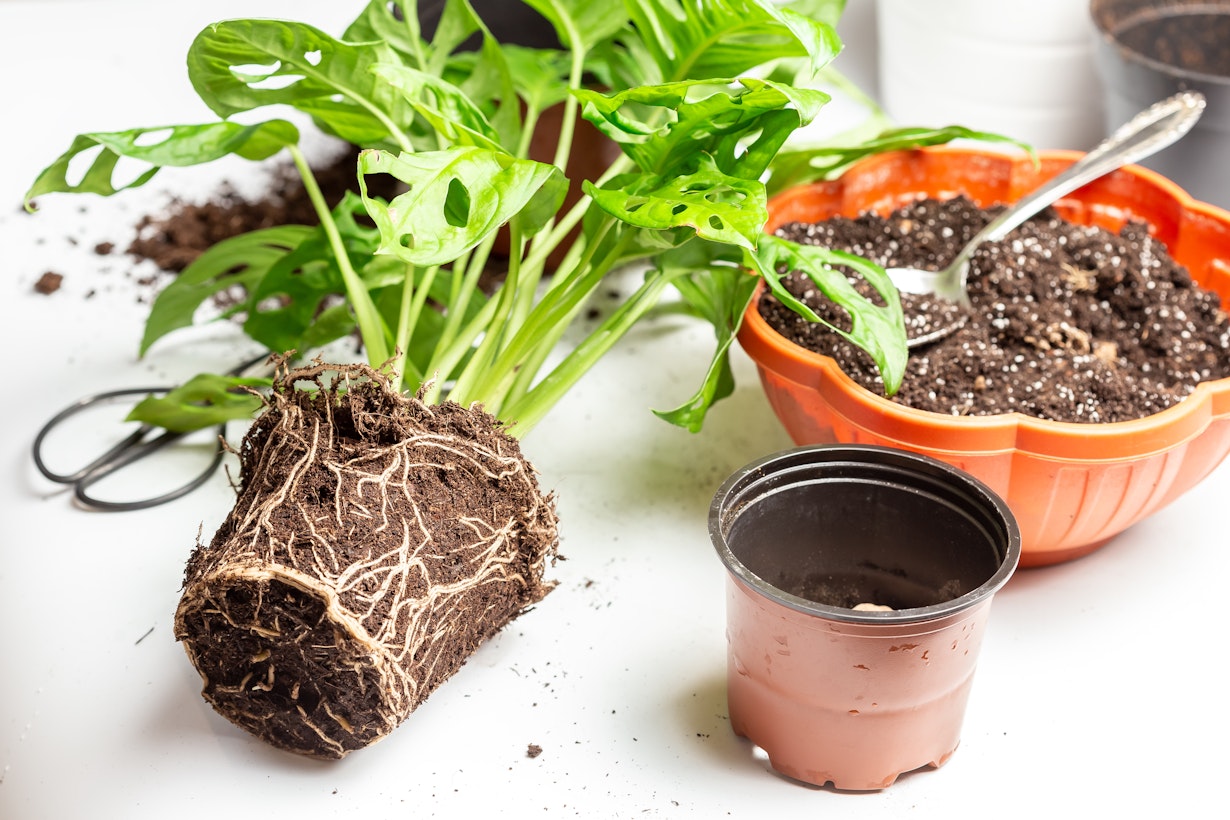
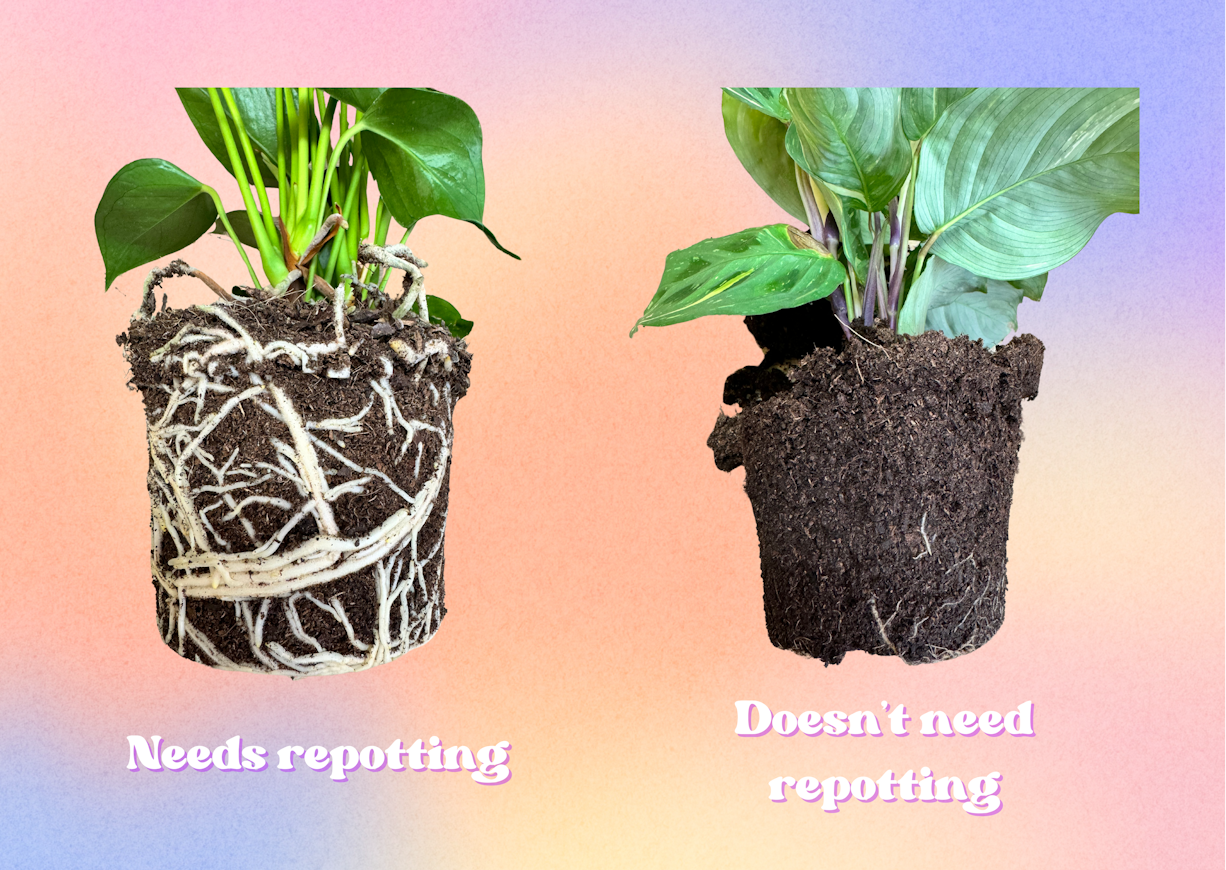
Outgrown pot: Over the course of its life, a plant grows roots and foliage, and while a huge plant in a small pot may seem impressive, sometimes that indicates that the roots are struggling to find space. Try removing the plant from its container, and inspect the roots. If the result is a ball of roots with hardly any soil, then it's time for a repot! This is by no means a frequent occurrence, and is usually a requirement every year or two (see pic below).
Pests: A lot of invertebrate pests lay their eggs in soil, but it doesn’t stop there: moulds and fungi have chosen damp soil to be the perfect germinating spot for their spores to burst into life! If any of these biological baddies are taking over your potting soil, a repot may be in order.
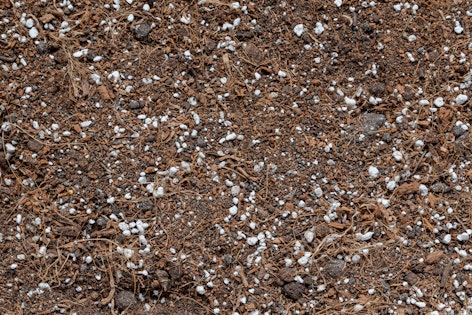
Needs new soil: Some plants are grown in media that is designed with their original growing conditions in mind, that is typically: large heat controlled greenhouses. To minimise watering requirements, these plants are potting into high retaining mixes that mean plants do not have to be watered as often. Unfortunately, these conditions do not carry on into the home, and often mean that plants are sold in less favourable potting mediums. When buying a new plant, let it settle into its new spot for a few weeks. Then, when you are ready, repot it into a more appropriate soil mix! A complete guide to soil mixes can be found here on our blog!
Separating/adjusting: Often, plants will be sold with multiple plants sharing a pot, or they will grow pups from their base, or just be a little off centre. A repot can help to separate these plants into their own growing space, or just adjust their position in the pot!
How do I repot my plant?
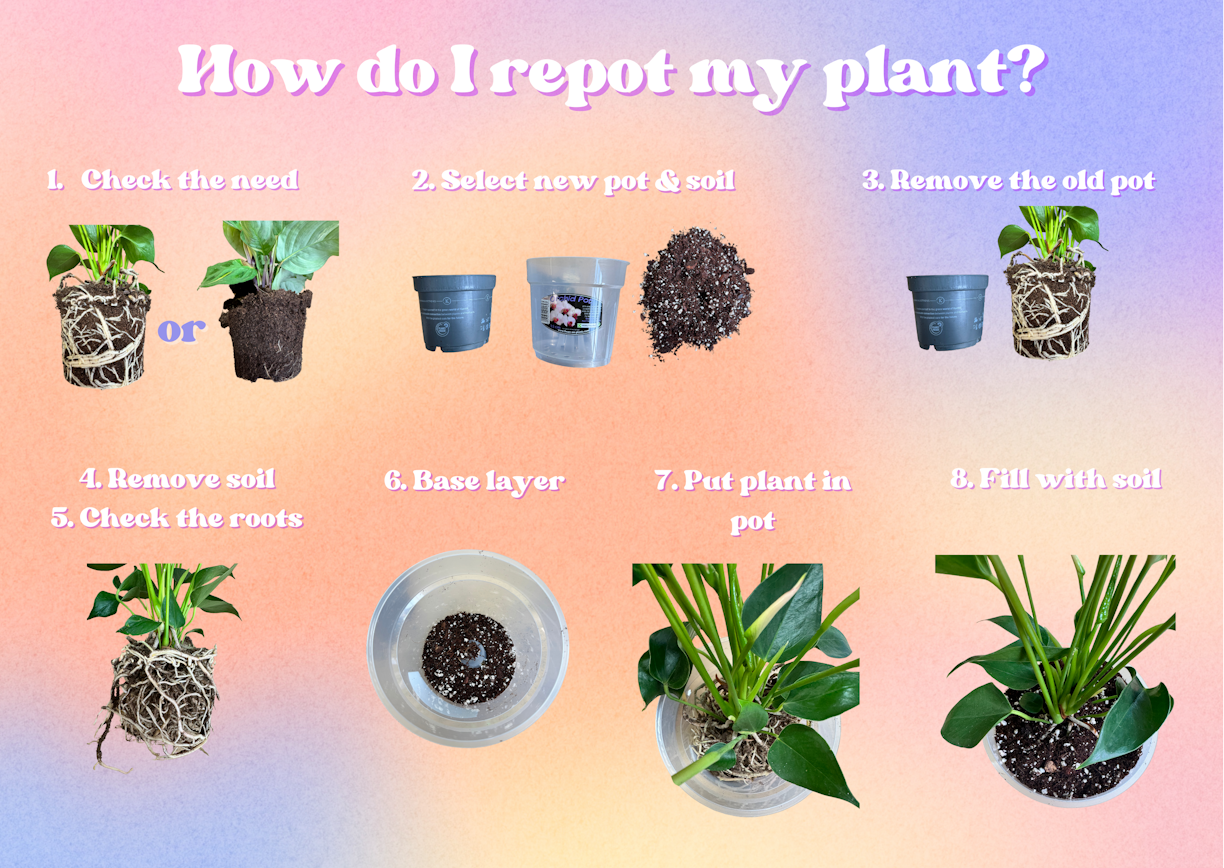
Repotting sounds like an arduous task, but it is not!. Follow this step by step guide to repotting if ever you’re in need, and your plants will be grateful for it!
1 - Check the need: First, remember that repotting a plant too frequently can cause stress. If you are repotting because it sounds like the right thing to do, or because it has been a while, maybe take a second to reconsider. Check the short list above, does your plant definitely need a repot? If so… continue on!
2 - Select new pot & soil: Depending on the plant you are repotting, what soil you intend to use can be important. Our blog post regarding soil can be found here, and contains a full guide to identifying what type of soil your plant needs! With selecting a new pot, ensure it has drainage holes and that it isn’t much more than 2 inches larger in diameter. If not, the risk of overwatering is greatly increased.
3 - Remove the old pot: Grasp the plant around the strongest part of the stem, as close to the soil as you can, squeeze the plastic inner pot with your other hand and gently pull. If a plant needs repotting due to space, this should be an easy feat. Plants that are being repotted due to health conditions may be a little messier, and bigger plants may require a bit more of a tug of war!
4 - Remove soil: It is recommended to remove the old soil before repotting, just as a method of resetting the roots in the soil, encouraging more aeration, although it is not absolutely necessary. Some people remove the old soil and then mix it back in with the new, so long as the soil mix is appropriate for the plant in question! Do so by gently massaging the soil from the root ball (over a bin) and using low-pressure running water to rinse off the little bit of soil left remaining.
5 - Check the roots: Checking the roots is a precaution in most cases, but for dealing with rot or overwatering it is a necessity. Identify any brown, mushy or black, rotten roots and cut them off with a pair of scissors.
6 - Base layer: It is important to add a little layer of soil in before putting the plant in. This ensures that the roots have space to grow in all directions and helps to maximise potential growth! This can be done by just adding a small amount of your chosen soil mix to the bottom of the pot, with no need to compress it or flatten it out! If you are potting directly into a container with no drainage, this would be an opportunity to add a drainage layer of gravel or clay pebbles to ensure water can pass through.
7 - Put plant in pot: The final step is to put the plant in the pot! Do so by holding it in the pot in the position you want it, and then filling around it with soil. Ensure the root ball is entirely beneath the top of the pot. Once it is able to stand on its own without being held, put soil around the sides of the plant, making sure to compact it to improve the structural strength of the set up! Finally, add a light, loose layer of soil on the top to cover any exposed roots.
8 - Consider alteration of care: After repotting, you need to consider whether the conditions of your plant have changed. If the soil you have used is faster draining that the previous medium, consider increasing watering frequency or altering light conditions! If the soil has a biological fertiliser included in it, consider reducing feeding, etc. I generally recommend not watering or feeding your plant for at least a few days after repotting anyway, just to give it time to settle in, a lot of fresh potting mixes are slightly moist anyway and will provide sufficient water as the plant adjusts to its new environment!
Hopefully, this guide should be enough for you to begin your repotting! As daunting as it seems, I hope this shows that actually, repotting is easy and can help improve the quality of your plants and the way they look! Feel free to check out this blog every time you repot or just until you’re a natural, which won’t be long!
Jonathan Davies
Jonny has worked at Root since May 2023. His love for plants was inherited initially from his grandparents and parents, but really took off once he moved into his own place, where he started picking up small plants and was fascinated by watching how they grow and change over time. Jonny has a degree in Archaeology and Classics from the University of Sheffield, and a masters in Egyptology from Swansea University, where he primarily focused on garden culture in the ancient world, which he has managed to extend to a PhD thesis in the University of Liverpool, where he has been able to combine his love for plants with his love for ancient language and culture. Jonny loves being in the natural spaces around North Wales and Cheshire where he used to go growing up, and often spends hours examining the plants and trees, and kicking up the leaf litter searching for mushrooms and insects. He is fascinated most by plant biology, taxonomy and learning about ecosystems and interactions between plants and their environmental counterparts, and enjoys tending to his varied array of houseplants, and ongoing ‘plant projects’, such as growing plants from seeds and creating living epiphyte displays. Aside from his green thumb, his other interests include: art, reading, listening to and playing music in the company of his cats, Spooky and Boo.
More by Jonathan DaviesRelated Articles
View all articles

General Houseplant Care
Propagating Plants - Making new plants from the ones you have already
By Jonathan Davies